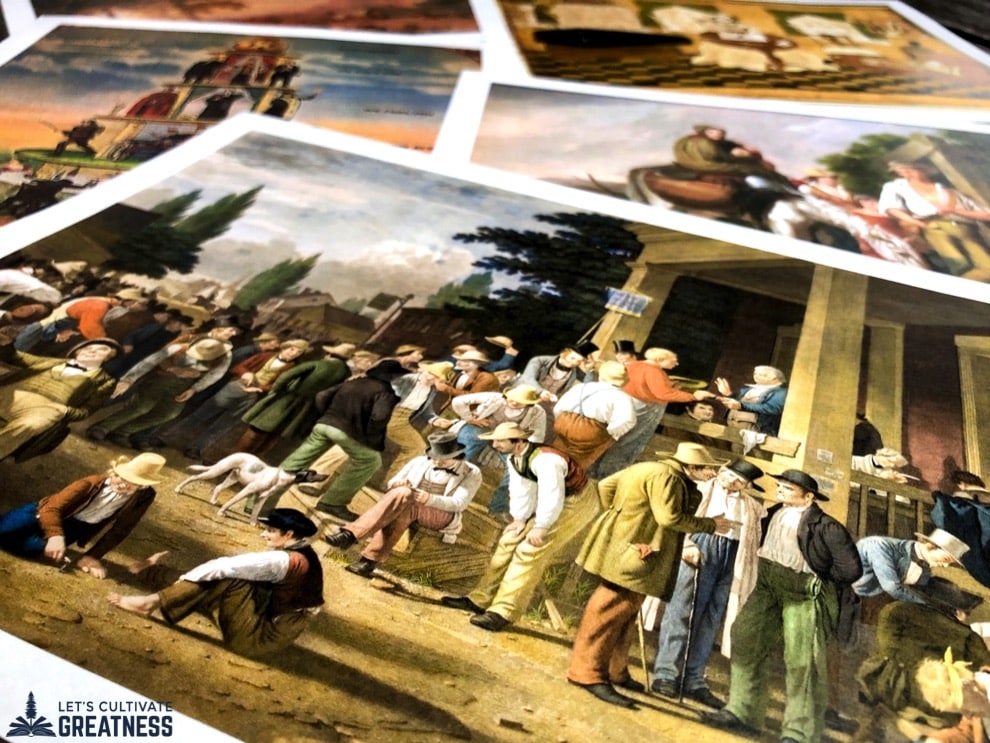
Historical art and photographs are some of my favorite primary sources to use while teaching US History, in part because there is an endless supply of rich, engaging, layered sources to pick from even though the timeline only goes back a few hundred years.
The second-biggest reason I love using images is because of their accessibility. Students of all ability levels can arrive at a deeper understanding with some focused questions and given enough time. Even your highest-ability students often need that one-by-one leveled questioning to slow them down in their desire to rush to thinking they know the final answer.
Over the years, I have entirely stepped away from the textbook and instead created a curated collection of historical primary sources, utilizing a handful of easy-to-use primary source strategies that handle each of them specifically. One of which is the PIC strategy for artwork and photographs and it works with ANY visual primary source!
Whether you are closely tied to your school’s textbook, or trying to break free, including more image analysis is a no-brainer at sparking curiosity and creating confidence in students to deeply break down something that, at first glance, doesn’t seem that complex.
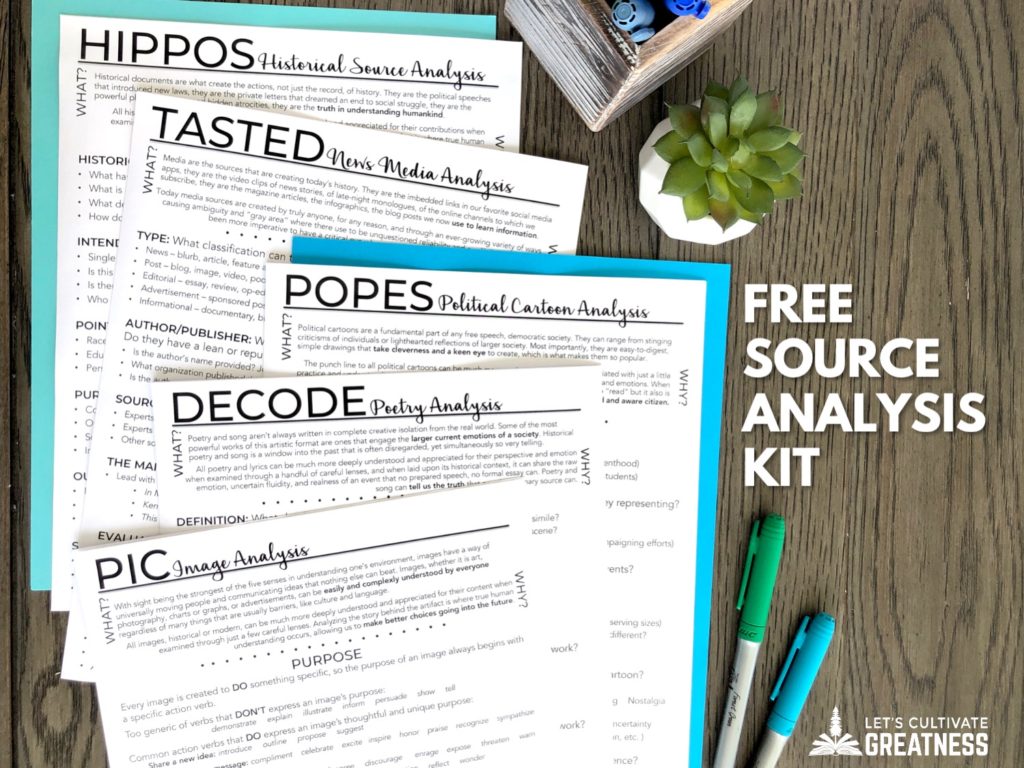
Scroll down to the bottom to access your very own FREE PIC Image Analysis Skill Sheet along with 5 other primary source sheets to empower you to teach any primary source like a pro.
Or click below to download the pack now!
Before diving into the PIC method, though, we need to set our students up for success.
1. Find the right images.
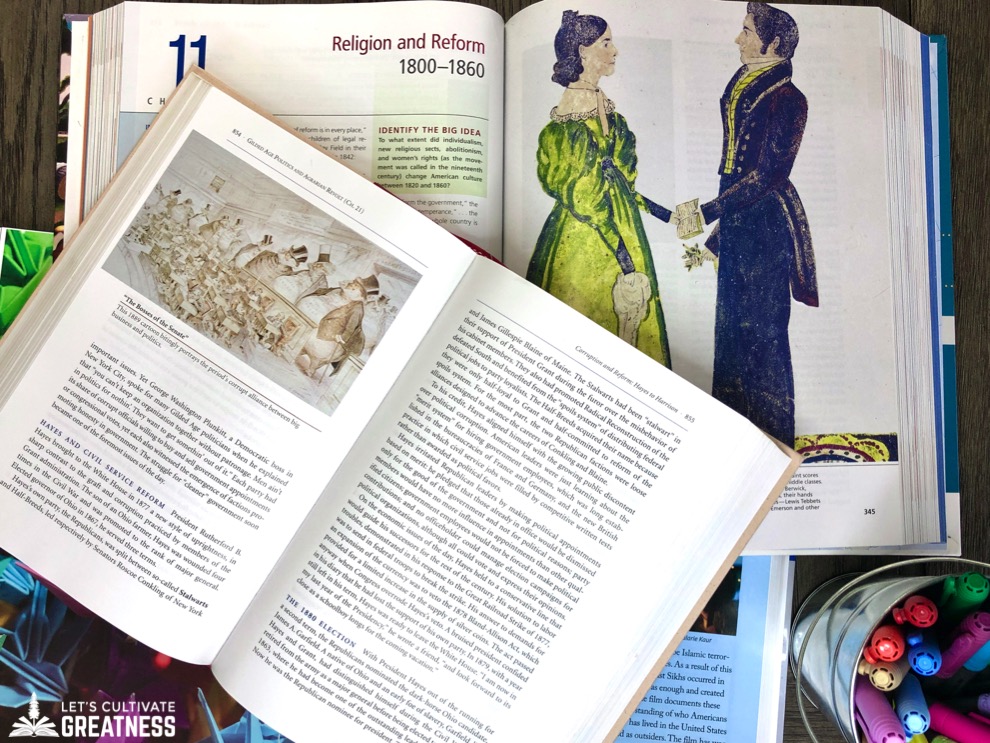
If you are new to teaching your course, the best place to start is a textbook, and not your school’s! When the College Board redesigned their AP US History course, I received 4-5 preview copies from publishers. These were a gold mine for browsing unique, lesser-known, yet powerful images. Even better were the captions, which not only gave citation information for me to find digital copies of the images, but they also got straight to the significance of the image. They became my answer keys!
Ask colleagues, ask publishers, browse Amazon for single copies of other textbooks to do the same for your course.
Once you have a title or artist in mind, you can easily seek out the work by heading over to Wikipedia. Pull up the entry and you will see on the left-hand side under “In other projects” a link to Wikimedia Commons. This is my go-to for properly cited, high-resolution historical images.
2. Make copies.
Copy images to take up most of the page, but allow some margin room. If it’s an image worth deeply exploring, it’s an image worth students having their own copies to annotate.
Post the color version on your screen, but you’ll notice that sometimes certain details will show better on your students’ black and white copies, which makes having both even better.
Have students write with either colored pens directly onto the image or with fine-tip dry erase markers after sliding the copies into page protectors.
3. Predict students’ questions and misconceptions.
Spend a few seconds thinking about what misconceptions, gaps in knowledge, or questions your students may have with a specific image and know how you will address them ahead of time. Often when I do this I realize I need to do a quick fact-check or look up a question I have! Guessing what they may ask definitely gets easier with time.
4. Open with observation time.
Okay, your students have their PIC skill sheet, you been talking about this topic all week, and this image is rich with historical meaning, so you want to dive straight into it. Fight the urge; don’t take the punch line away from your students like the textbook captions do! Post it and then step back. Set your timer for at least 1 minute of think time. Let your students soak in the image, all its elements, and consult their sheet. Silently and individually. This means you, too.
5. Let your students shine.
Let them do the talking. You really should be doing only two things: asking nudging questions, either to solicit deeper thinking or move one to the next step, or providing the backstory when your students’ collective background knowledge has maxed out.
Now, you’re ready to use the PIC strategy!
This is my go-to for any piece of art or photograph in my classroom. Here are the basics for how it works:
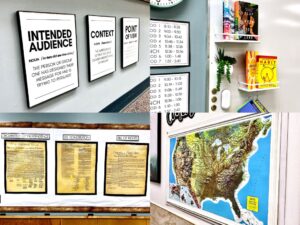
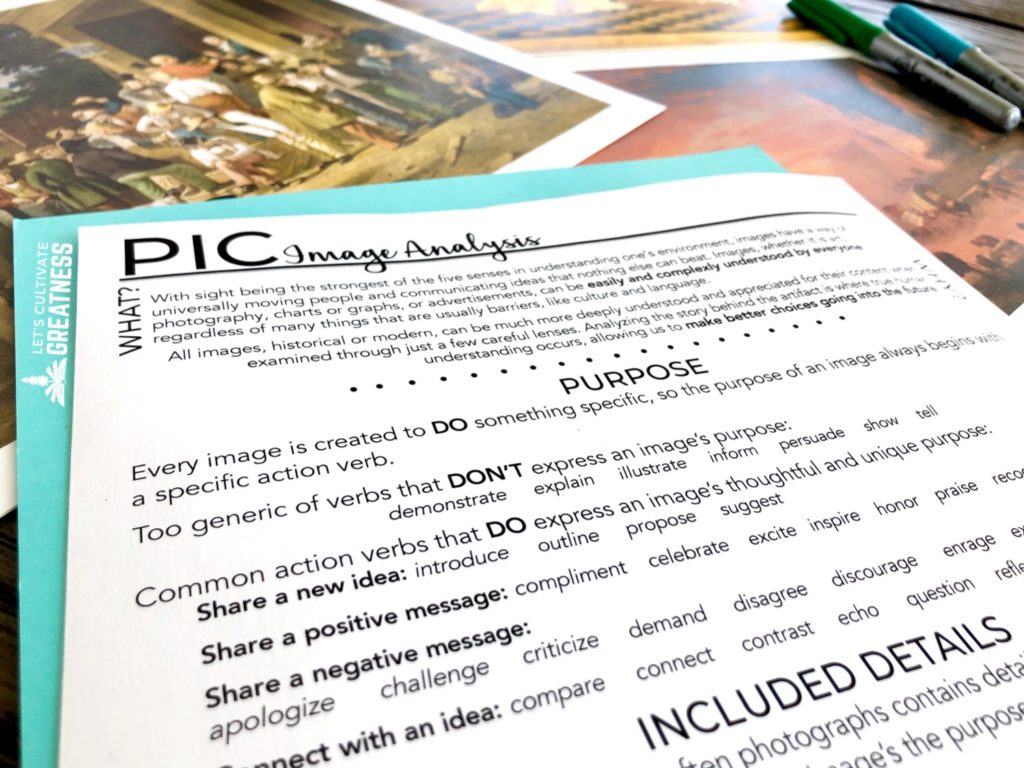
Purpose
What was the artist or photographer trying to do in creating this image?
Included Details
What specific details are included? What role do they play? Even in photographs, details are intentional and carefully crafted.
Contextualization
What is the larger story around this image? Ask students nudging questions to recall and connect what they have already learned to the image before them.
I can’t recommend this strategy enough for exploring primary sources with students!
Click below for your FREE download!
Click below to get this PIC Skill Sheet and 5 more print-and-teach primary source strategies now! Also, get signed up for access to my email newsletter full of actionable teaching hacks, my latest blog posts, and exclusive free resources!
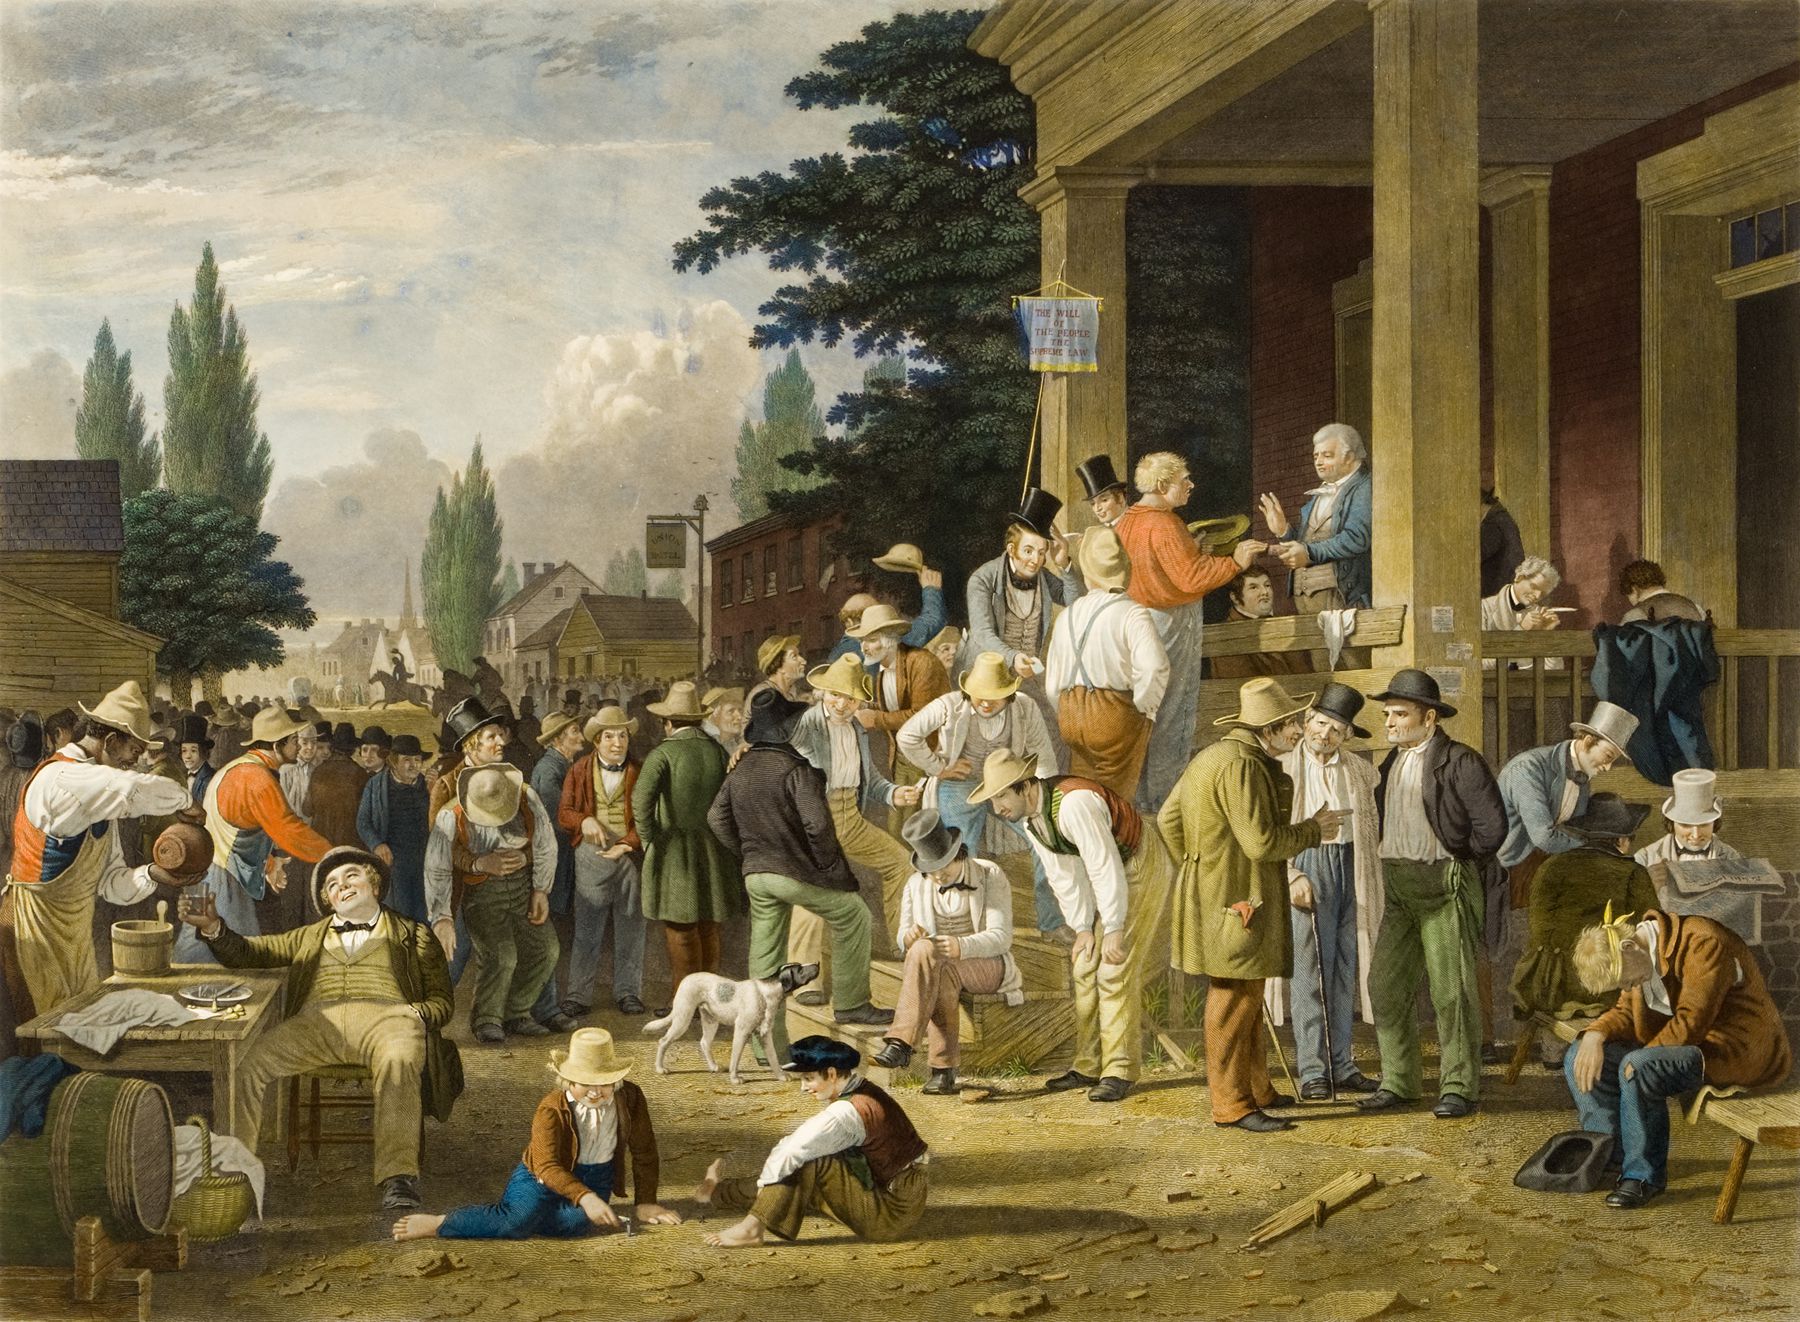
Feature image credit: George Caleb Bingham, “County Election” (1854)